How to Crochet for Absolute Beginners: A Simple Step-by-Step Guide
You do not need to learn dozens of stitches, memorize crochet abbreviations, or buy a bag full of supplies. For your first practice, you only need to understand a few basic movements: how to hold the hook and yarn, make a slip knot, crochet a starting chain, and work a row of single crochet.
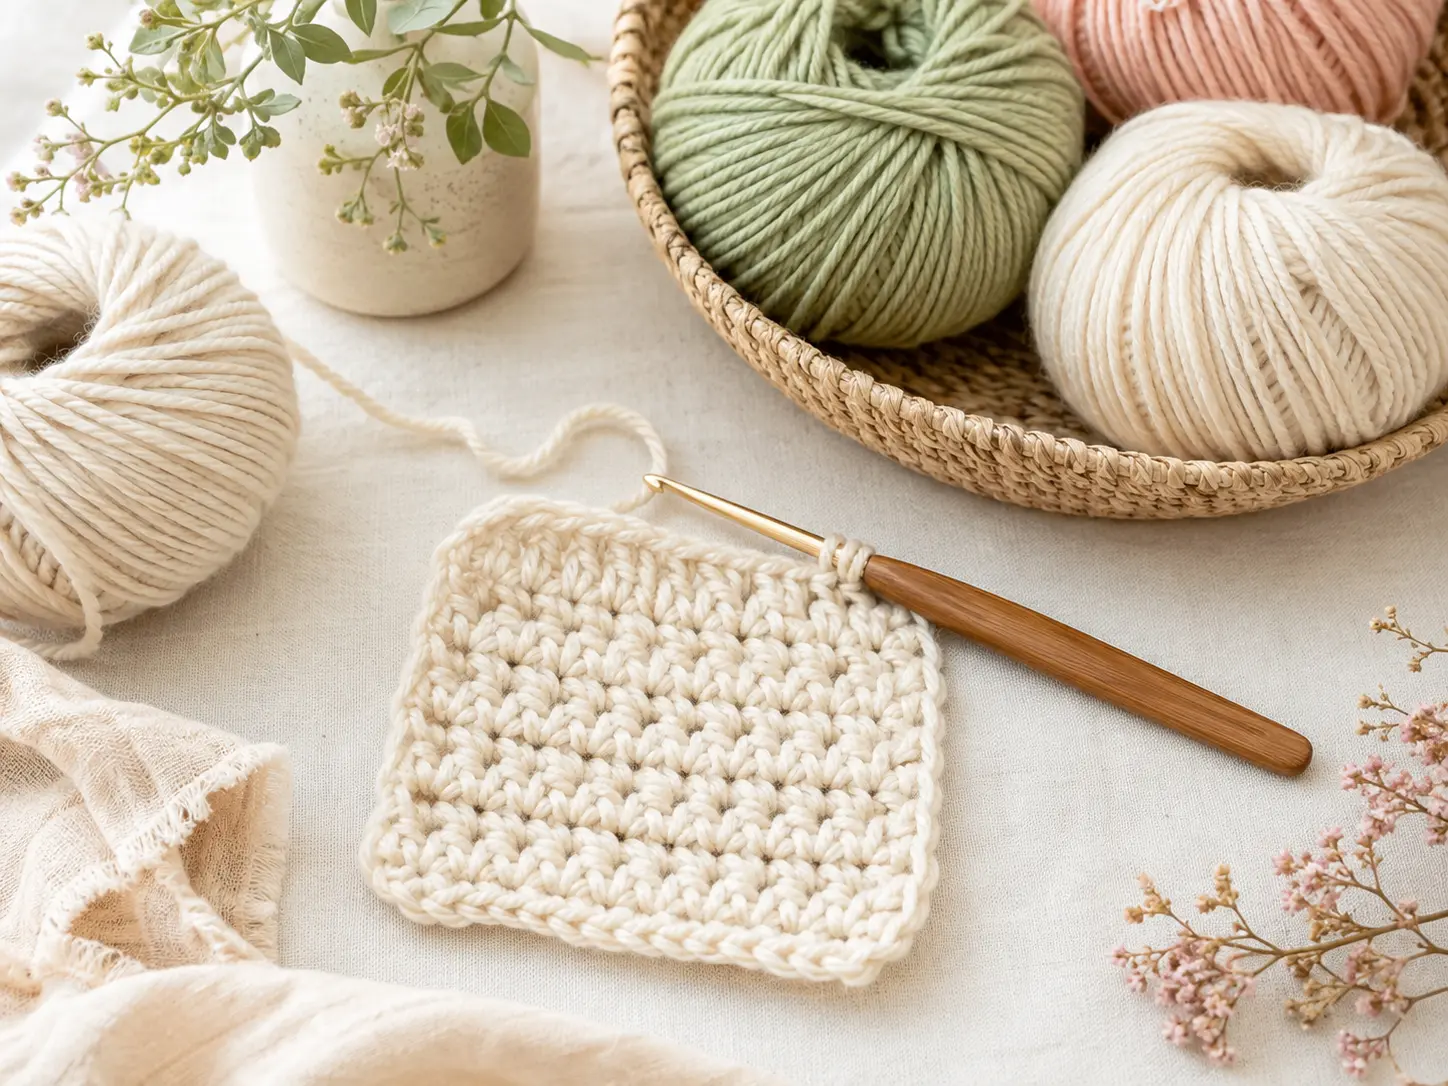
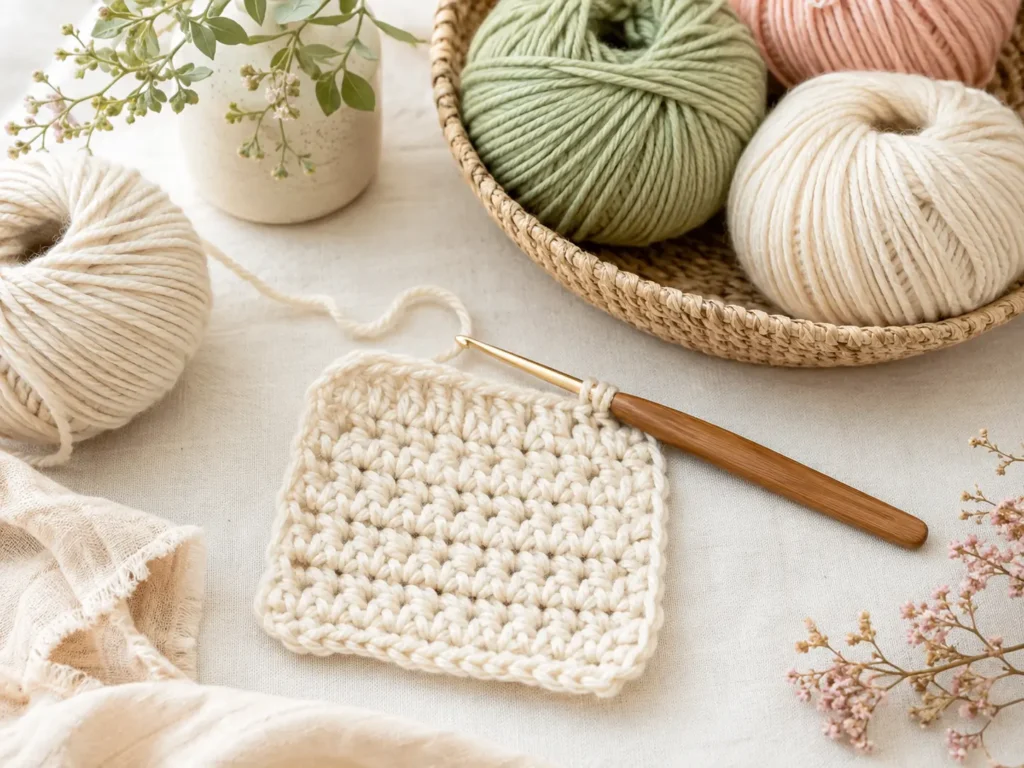
By the end of this guide, you will have made a small 15-stitch crochet swatch yourself. More importantly, you will know what each stitch should look like, where to put your hook, how tight your yarn should feel, and what to do if your work starts getting wider, narrower, or difficult to crochet into.
We will go slowly. I will point out the little things that usually confuse beginners, such as whether the loop on your hook counts as a chain, how to find the second chain from the hook, and how to recognize the first and last stitch of a row.
Your first few rows may look uneven. That is fine. For now, the goal is not to make perfect crochet. The goal is to reach the point where you can look at your work and understand what your hook needs to do next.
How to Crochet for Absolute Beginners: Start With the Basics
Crochet is a method of creating fabric by using a hook to pull loops of yarn through other loops. With the same basic techniques, crocheters can eventually make scarves, blankets, bags, granny squares, clothing, flowers, and small stuffed projects such as amigurumi.
For now, you only need to learn a few beginner movements. Once those feel comfortable, more complicated projects become much easier to understand.
Mastering these basic movements first will make future crochet projects much easier.
What You Need to Start Crocheting
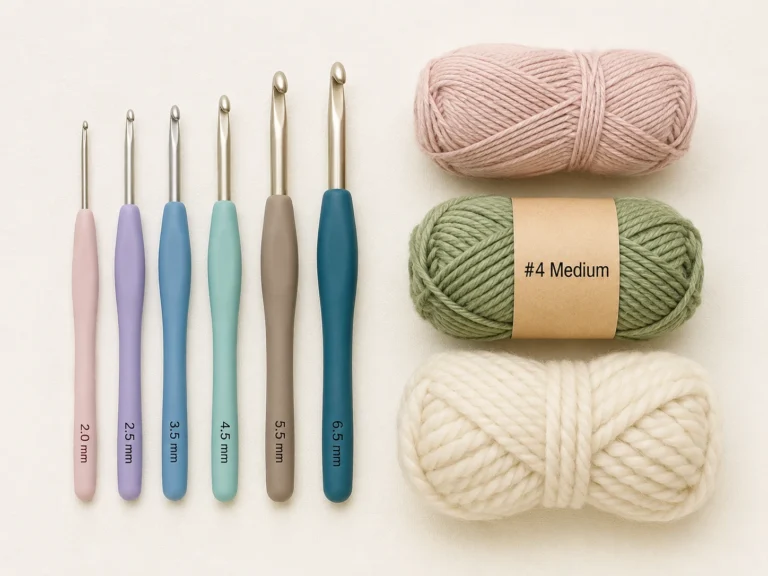
You do not need a large collection of supplies to learn crochet. For your first practice piece, gather:
- A 5 mm or 5.5 mm crochet hook
- Smooth #4 medium or worsted-weight yarn
- Scissors
- A yarn or tapestry needle
- One or two stitch markers
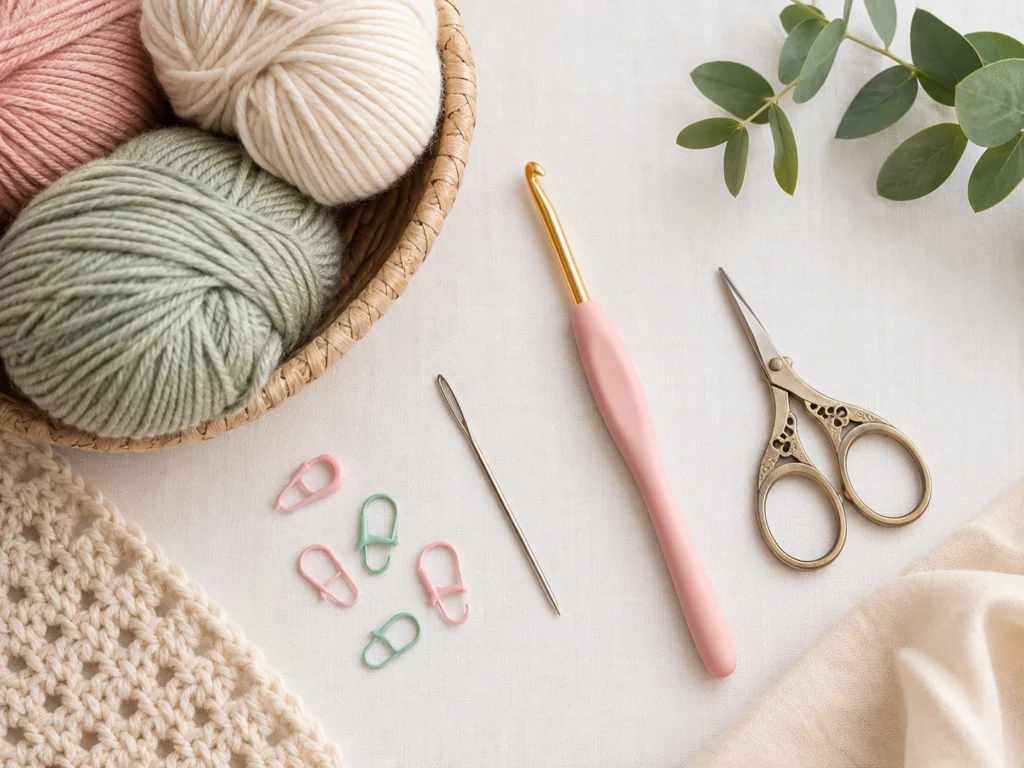
Choose yarn in a light or medium color so you can clearly see each stitch. Cream, beige, pale blue, light green, or soft pink are usually easier to work with than black or very dark yarn. Try to avoid fuzzy, fluffy, or highly textured yarn while you are learning because it can make the individual loops difficult to see.
Your hook size should also suit the yarn you are using, so check the yarn label if you are unsure.
If hook sizes and yarn weights are still confusing, see our crochet hook sizes and yarn weights guide.
A Quick Note About Crochet Terms
This tutorial uses U.S. crochet terminology. The stitch called a single crochet in the U.S. is called a double crochet in U.K. terminology. This difference can be confusing when you start following patterns, so it is worth checking which terminology a pattern uses before beginning.
Step 1: Learn How to Hold the Crochet Hook
There is no single correct way to hold a crochet hook. Two common methods are the pencil grip and the knife grip.
With the pencil grip, you hold the hook in a similar way to a pencil, with your fingers resting near the flat section of the hook. With the knife grip, your hand rests over the hook, similar to the way you might hold a small table knife.
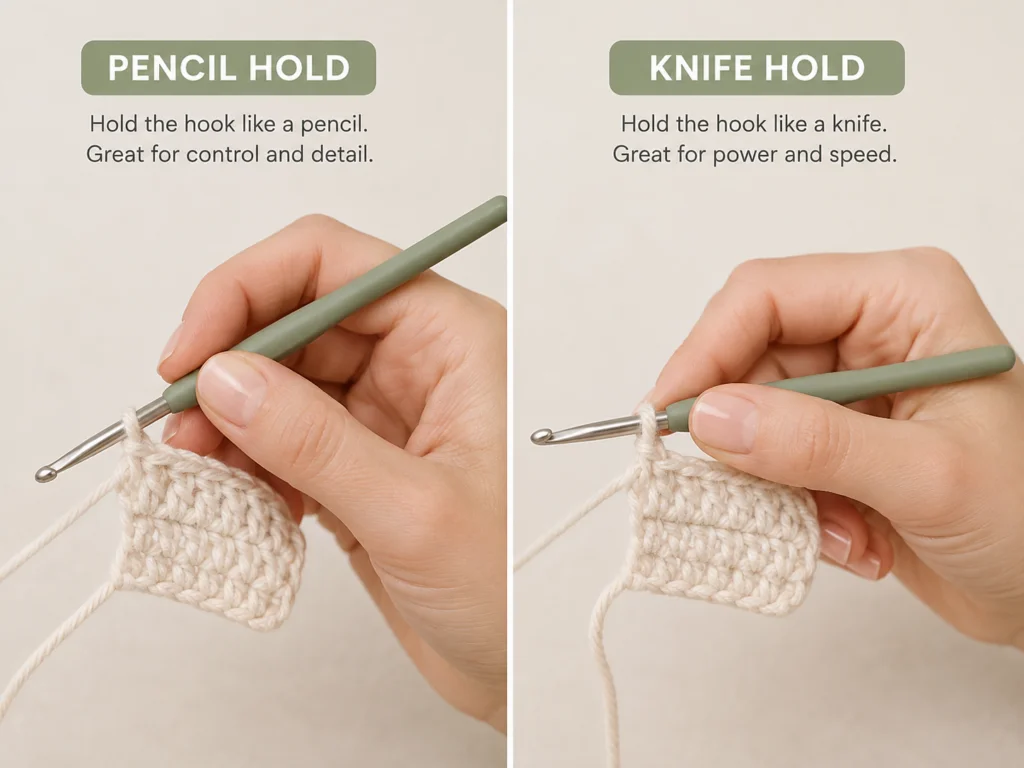
Try both and use whichever feels more comfortable. The most important thing is to keep your hand relaxed. If you squeeze the hook tightly, your stitches may become very tight and difficult to work into later.
You will usually hold the working yarn in your opposite hand. Let the yarn move through your fingers with gentle tension rather than pulling it tightly after every stitch. At first, holding both the yarn and hook at the same time can feel awkward, but that usually improves with practice.
Step 2: Make a Slip Knot
Most beginner crochet projects worked in rows start with a slip knot. Leave a short yarn tail of several inches, make a loop with the yarn, then pull a small section of the working yarn through the loop.
Place the new loop onto your crochet hook and gently tighten it. The slip knot should sit securely around the hook, but it should still slide easily along the shaft. If you pull it so tightly that the hook cannot move comfortably, loosen it slightly.
Your first loop is now ready.
Step 3: Crochet a Starting Chain
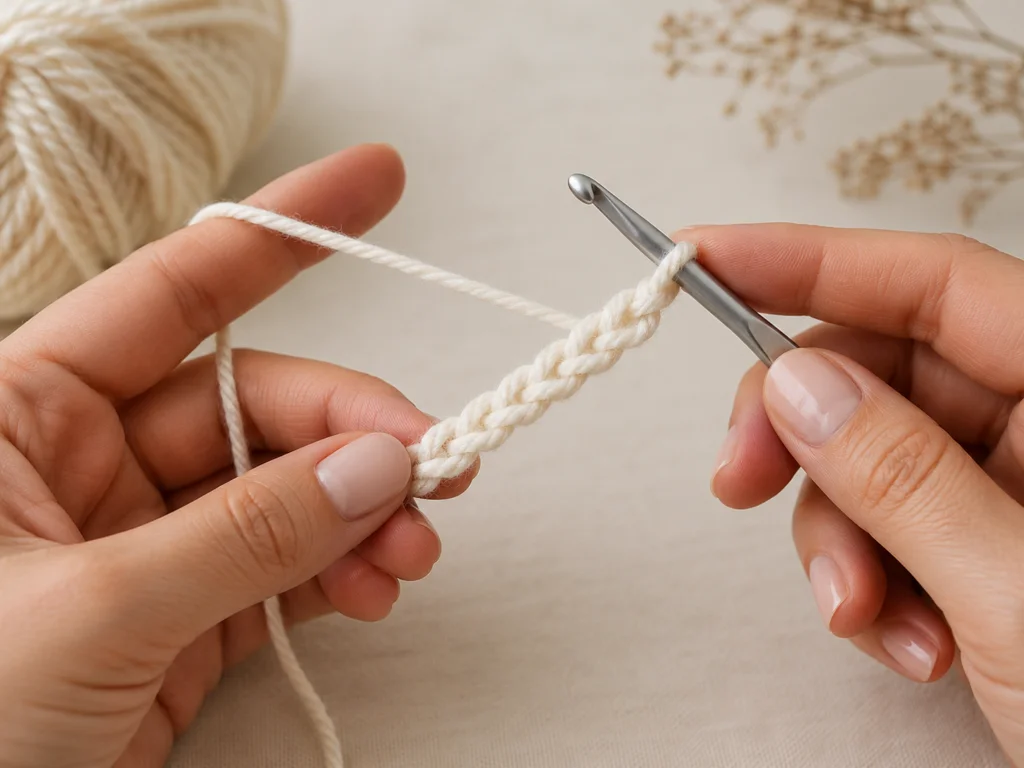
The chain stitch creates the foundation for many beginner crochet projects. Hold the hook with your slip knot on it, then wrap the working yarn over the hook from back to front. This movement is called a yarn over.
Use the hook to pull the yarn through the loop already on your hook. You have made one chain stitch. Repeat the same movement: yarn over, then pull the yarn through the loop on the hook.
For this practice swatch, make 16 chain stitches. Do not count the loop currently sitting on your hook as a chain. As your chain grows, it should begin to look like a small braid.
What If My Chain Looks Uneven?
Your first chain may have some large loops and some small ones. This usually happens because your yarn tension is changing while you work. Do not restart every time a chain looks imperfect. Instead, concentrate on keeping your hands relaxed and making each new chain with roughly the same amount of tension.
Avoid pulling the chain stitches too tightly because you will need to insert your hook into them in the next step.
Step 4: Make Your First Single Crochet Stitch
Now you are ready to turn your starting chain into a small piece of fabric. Look at the chain closest to your crochet hook, skip that first chain, and insert the hook into the second chain from the hook.
Yarn over and pull the yarn back through the chain. You should now have two loops on your hook. Yarn over again and pull the yarn through both loops on the hook. You have completed one single crochet stitch.
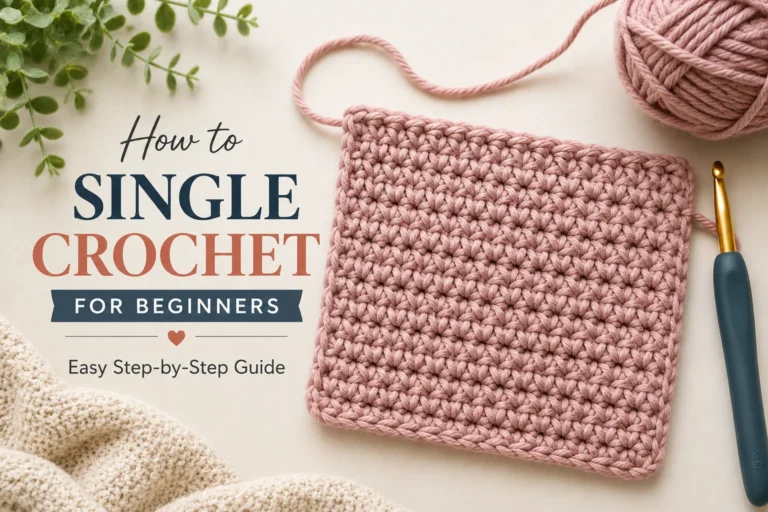
Continue working across the starting chain, making one single crochet into each remaining chain. Because you started with 16 chains and skipped the first chain from the hook, you should finish the row with 15 single crochet stitches.
Do not worry if the first row feels slow. Finding the correct place to insert the hook is often one of the hardest parts for a new crocheter.
Step 5: Turn Your Work and Crochet the Second Row
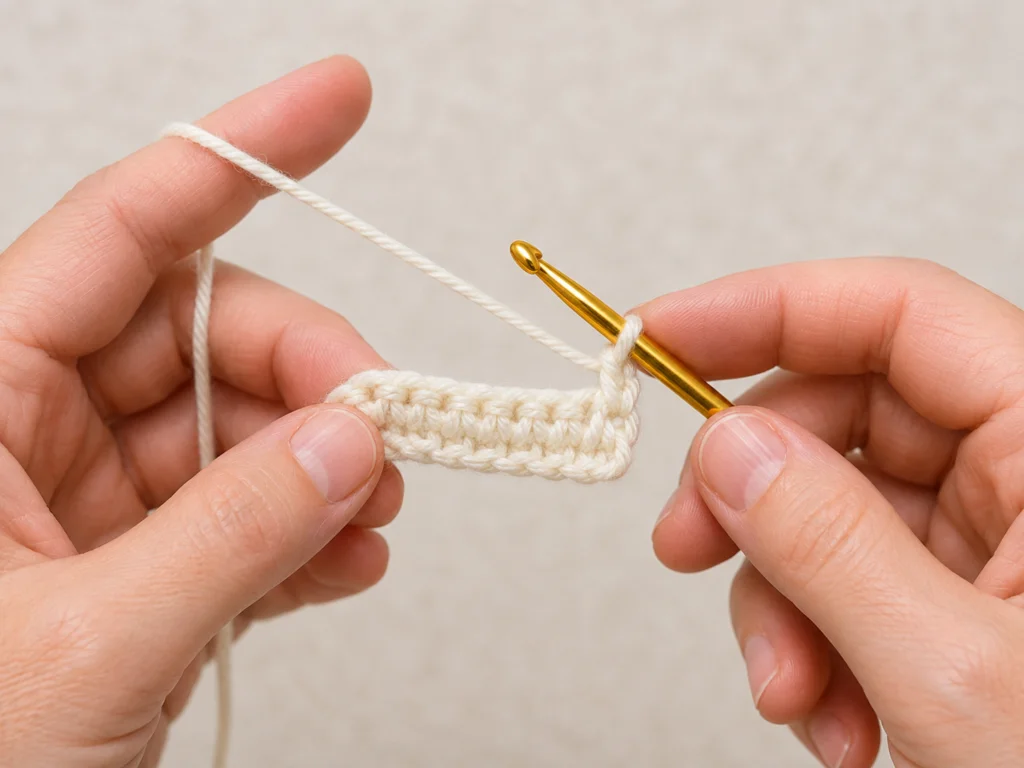
When you reach the end of your first row, make one chain stitch. For this simple practice swatch, the turning chain gives you enough height to begin the next row and does not count as one of your 15 stitches.
Turn your work so you can crochet back across the row. Look at the top edge of your crochet. Each stitch should form a small V shape. Insert the hook under both loops of the first V, yarn over and pull up a loop, then yarn over again and pull through both loops.
Continue making one single crochet in each stitch across the row. At the end, count your stitches. You should still have 15 single crochet stitches.
Repeat this process for several rows:
- Chain one.
- Turn your work.
- Single crochet across the row.
- Count 15 stitches.
After a few rows, you will have a small rectangular crochet swatch.
Why Counting Your Stitches Matters
One of the most common beginner crochet problems is accidentally adding or losing stitches. If you miss the final stitch of a row, your work may slowly become narrower. If you accidentally crochet twice into the same stitch, your work may become wider.
For this practice piece, you began with 15 single crochet stitches, so try to keep 15 stitches in every row. A stitch marker can make this easier. Place a marker in the first stitch of the row so you can clearly identify the edge.
How to Keep Your Crochet Tension Even
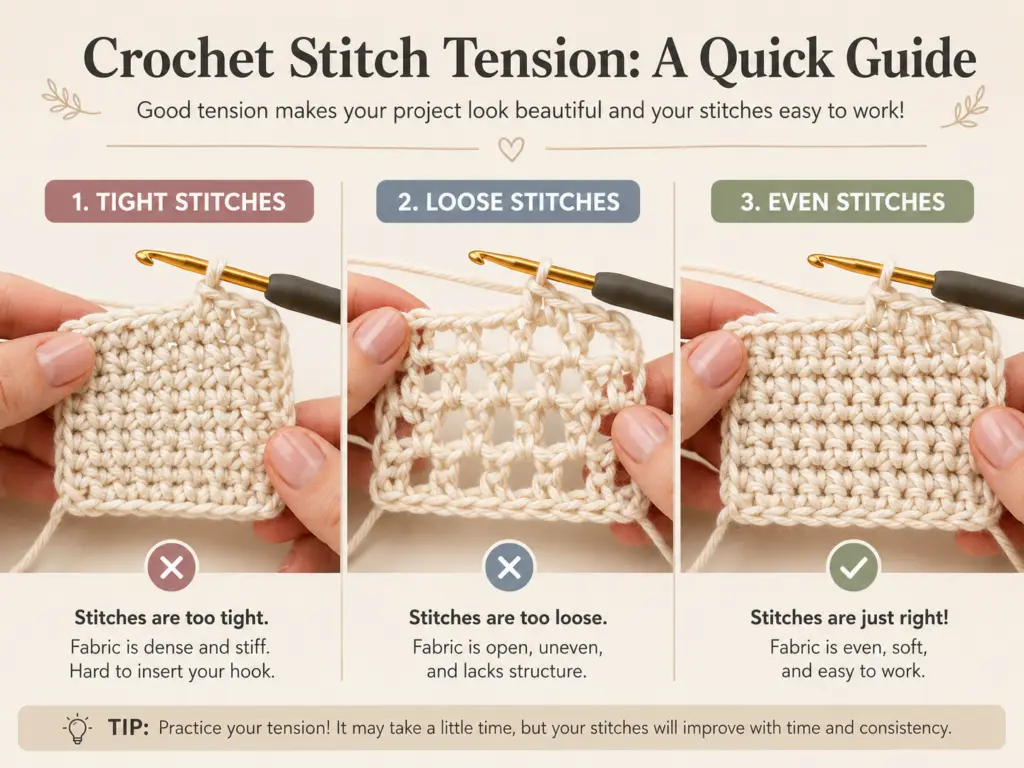
Tension refers to how tightly or loosely you hold and work the yarn. New crocheters often try to control the yarn by pulling it very tightly, but this can make the next row difficult because the hook cannot easily fit into the stitches.
Try to let the yarn move naturally through your fingers. Your stitches should be firm enough to hold their shape but loose enough for the hook to enter without force.
Do not expect perfectly even tension immediately. Consistency develops as your hands repeat the same movements again and again. If your first few rows look uneven, continue practicing before deciding that you are doing something wrong.
Lia’s Tip: When I was learning, loosening my grip helped more than trying to force every stitch to look identical. Once my hands relaxed, the hook moved through the stitches much more easily.
What to Do When You Make a Crochet Mistake
Mistakes are part of learning crochet. You may accidentally skip a stitch, place two stitches in the same spot, or notice that one section of your row looks different.
Fortunately, crochet is usually easy to undo. Remove your hook from the active loop while keeping track of where the loop is, then gently pull the working yarn. Your most recent stitches will begin to come undone one at a time.
Stop when you reach the mistake, place the hook back into the active loop, and continue crocheting. You may hear crocheters refer to undoing stitches as frogging. Even experienced crocheters undo stitches when they notice a mistake.
How to Finish Your First Crochet Practice Piece
Once your swatch is large enough, cut the working yarn, leaving a tail of around six inches. Pull the cut yarn completely through the final loop on your hook and gently tighten it to secure the last stitch.
Thread the yarn tail through a yarn needle and weave it back and forth through several stitches on the back of your work. Trim any excess yarn after the tail feels secure.
You have now completed your first piece of crochet fabric. It may not be perfectly straight or evenly stitched, but that does not matter. The purpose of a practice swatch is to teach your hands how the basic movements work.
Common Crochet Problems for Beginners
Why Are My Crochet Stitches Too Tight?
You may be holding the yarn or hook too firmly. Try relaxing your hands and allowing slightly more yarn to move through your fingers. If you are still struggling to insert the hook into your stitches, try a slightly larger hook while practicing.
Why Does My Crochet Keep Getting Smaller?
You are probably missing a stitch at the beginning or end of some rows. Count your stitches after every row and place stitch markers in the first and last stitches until you can recognize them easily.
Why Is My Crochet Getting Wider?
You may be accidentally working more than one stitch into the same place or crocheting into the turning chain. Count your stitches regularly so you can catch the problem early.
Why Is My Starting Chain So Tight?
Many beginners pull the yarn too firmly when making chains. Try loosening your grip and allowing each chain to sit comfortably around the hook. You can also use a slightly larger hook for the starting chain.
Why Is My Crochet Curling?
A tight starting chain or very tight tension can cause a practice swatch to curl. Minor curling can also happen while a small piece is still being worked. Try loosening your starting chain and keeping your stitches relaxed.
Why Do My Rows Look Uneven?
Uneven tension is normal when you first learn to crochet. Keep practicing the same stitch rather than constantly restarting. Your hands need repetition before the stitch size begins to feel consistent.
Easy Crochet Projects to Try Next
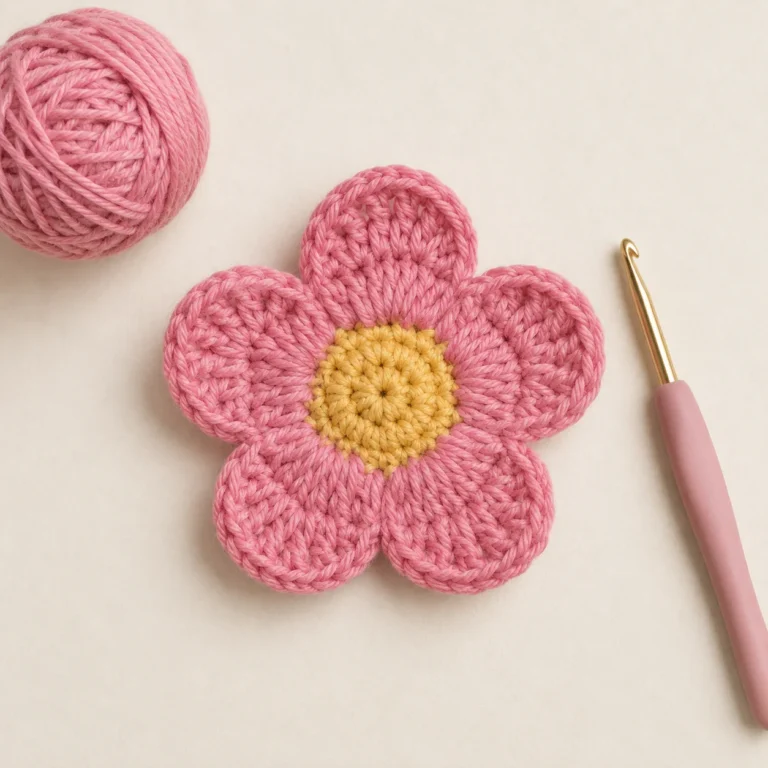
Once you can comfortably make a chain and several rows of single crochet, move on to a small project that uses the same skills. Good beginner projects include:
- A simple coaster
- A small washcloth
- A basic headband
- A beginner scarf
- A rectangular pouch
- A simple bookmark
Small projects are useful because you can finish them without learning too many new techniques at once.
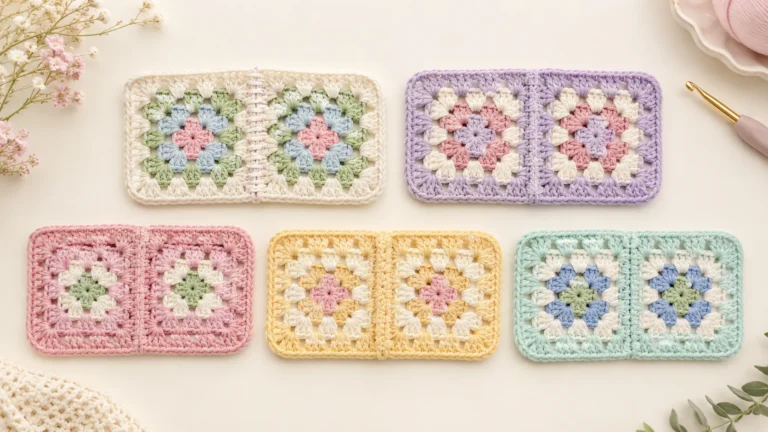
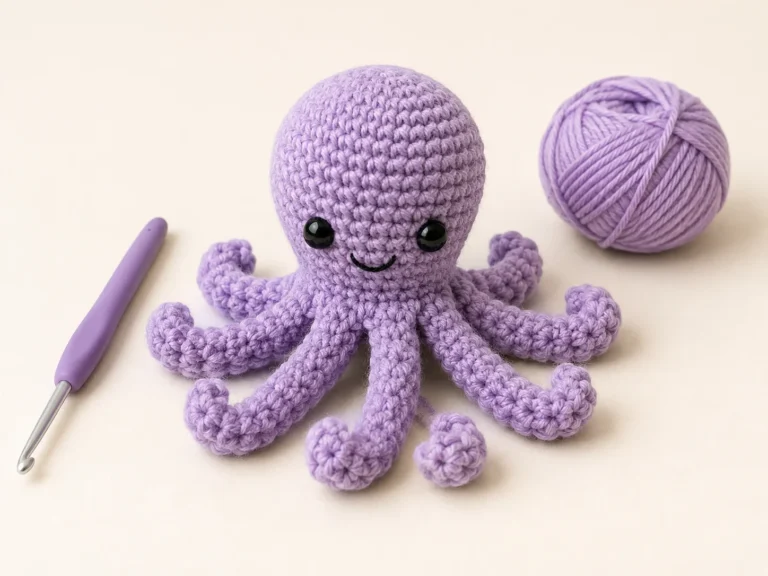
When you are ready for something different, you can learn how to crochet a granny square or try an amigurumi project for beginners.
What Should You Learn Next?
Once you are comfortable with chains and single crochet, useful next skills include:
- Half double crochet
- Double crochet
- Increasing stitches
- Decreasing stitches
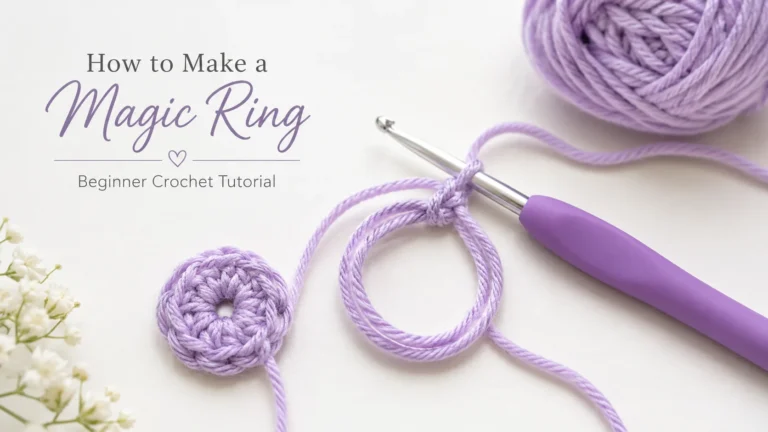
- Crocheting in the round
- Reading simple crochet patterns
- Changing yarn colors
- Weaving in yarn ends neatly
Learn one new skill at a time and use it in a small project before moving on. This is usually much easier than trying to understand an entire crochet pattern at once.
Frequently Asked Questions
Is Crochet Hard for a Complete Beginner?
Crochet can feel awkward at first because both hands are doing different jobs. Starting with a chain and single crochet allows you to practice the basic movements without worrying about a complicated pattern.
What Crochet Hook Size Is Best for Beginners?
A 5 mm or 5.5 mm hook paired with smooth #4 medium or worsted-weight yarn is a practical starting point for many beginners. Always check the yarn label because different yarns may recommend different hook sizes.
What Is the First Crochet Stitch I Should Learn?
Start with the chain stitch because it forms the foundation of many projects worked in rows. After that, single crochet is a useful first basic stitch because the movements are simple and repetitive.
What Yarn Is Easiest to Crochet With?
Smooth, light-colored medium-weight yarn is usually easier for beginners because you can clearly see the individual stitches. Very dark, fuzzy, slippery, or extremely thin yarn can make learning more difficult.
Why Do I Keep Losing Stitches?
Beginners often miss the first or last stitch of a row because edge stitches can be harder to recognize. Count your stitches after every row and use a stitch marker at the edges until you become more confident.
Final Thoughts
Learning how to crochet for absolute beginners is mostly about giving your hands enough time to understand a few repeated movements. Start with a comfortable hook and smooth yarn, practice your slip knot and chain, make a row of single crochet, turn your work, and repeat.
Do not judge your first swatch by how neat it looks. Instead, check whether you can recognize the stitches, find the next place to insert your hook, and keep roughly the same number of stitches in each row.
Those small skills are the foundation for almost everything you will learn next in crochet. Once they begin to feel natural, you will be ready to turn those practice rows into your first real project.
One Comment