Granny Squares for Beginners: Easy Step-by-Step Guide
Granny squares for beginners can look complicated at first, but the basic construction becomes much easier when you understand the corners, stitch groups, and chain spaces. Once you know where each group of stitches goes, the square begins to make sense. In this beginner guide, you will learn what a granny square is, what supplies you need, how to crochet your first square round by round, how to change colors, fix common problems, join finished squares, and turn them into simple bags and accessories.
If you are completely new to crochet, it may help to learn the basic stitches first in our crochet guide for absolute beginners.
What Is a Granny Square?
A granny square is a crochet motif worked from the center outward in rounds. A classic version uses groups of three double crochet stitches separated by chain spaces.
The corner spaces are what create the square shape. As you add more rounds, each side becomes longer while the four corners stay clearly defined.
Granny squares are useful for beginners because the same stitch pattern repeats around the square. Once you learn one small square, you can make more and join them into bags, scarves, cushion covers, blankets, and other projects.
Note: This tutorial uses U.S. crochet terminology.
What You Need to Make Your First Granny Square
You only need a few basic supplies:
- Smooth #4 medium or worsted-weight yarn
- A 5 mm or 5.5 mm crochet hook
- Scissors
- A yarn or tapestry needle
- Stitch markers if needed
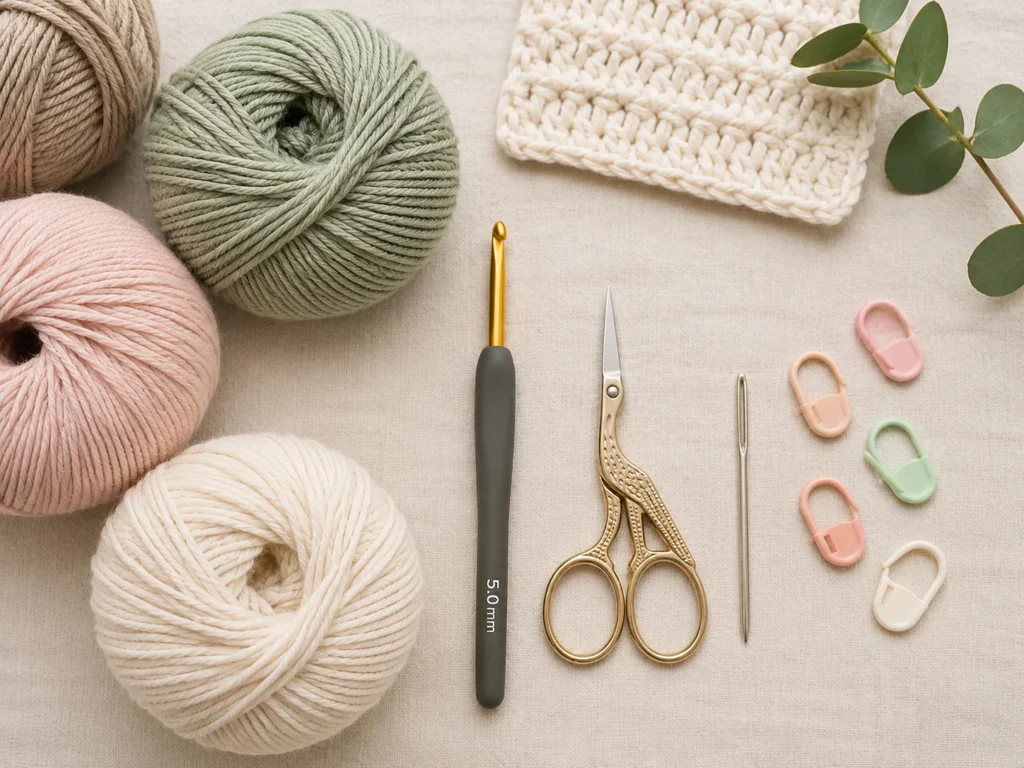
Choose a light-colored yarn for your first attempt so the stitches and chain spaces are easy to see. Cream, pale blue, soft pink, beige, or sage green are usually easier to work with than very dark or fluffy yarn.
Use one color while learning the basic construction. You can add color changes once you feel comfortable finding the corners and side spaces.
Before You Start: Know the Basic Abbreviations
For this simple square, you only need a few crochet abbreviations:
ch = chain
dc = double crochet
sl st = slip stitch
ch-sp = chain space
The starting chains at the beginning of a round help bring the hook up to the height needed for the next stitches.
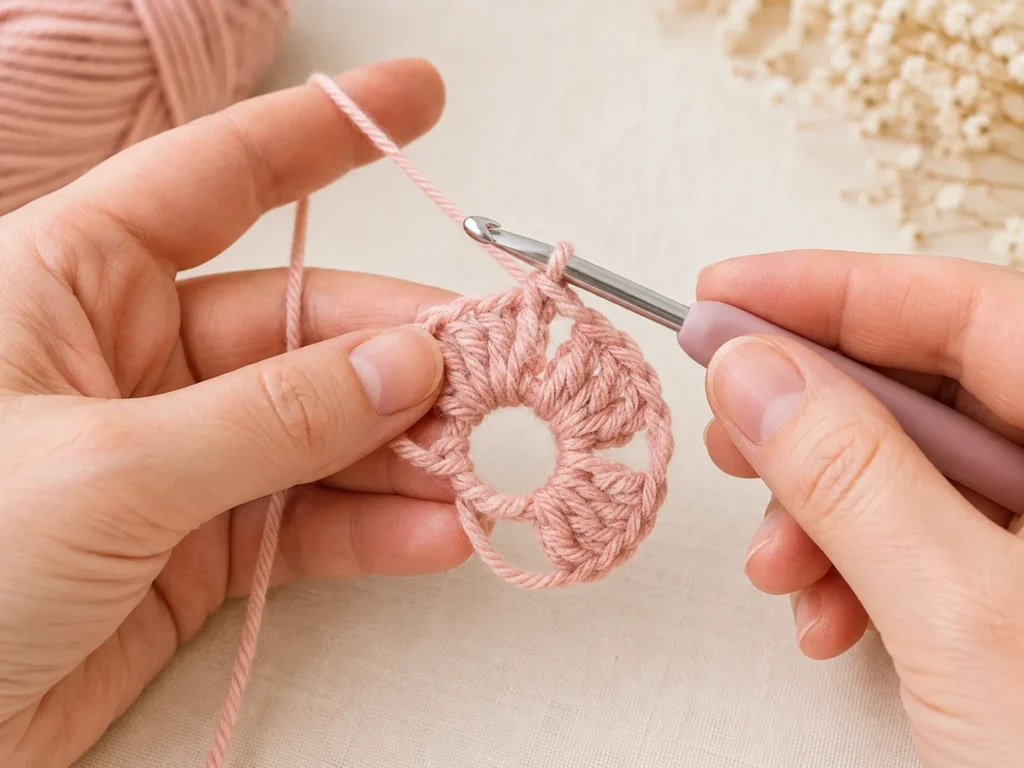
Step 1: Make the Center Ring
For this beginner version, start with a simple chain ring.
Make 4 chain stitches.
Work 2 double crochet stitches into the fourth chain from your hook. The starting chain acts as the first double crochet, so together these form your first group of three stitches.
Chain 2 to create the first corner.
Continue working into the same starting chain:
3 double crochet, chain 2
Repeat that until you have four groups of three double crochet stitches with a chain-2 space between each group.
Finish with another chain 2 and join the round with a slip stitch.
You should now see four stitch groups and four open corner spaces.
Step 2: Crochet the Second Round
Move your hook into a corner chain space.
Chain 3, then work 2 double crochet stitches into the same corner. Chain 2, then work 3 more double crochet stitches into that same corner.
That creates the first corner of Round 2.
Chain 1.
In the next corner space, work:
3 double crochet, chain 2, 3 double crochet
Chain 1 and repeat the same corner pattern in each remaining corner.
Join the round with a slip stitch.
Your crochet should now look much more clearly like a square.
Step 3: Add the Third Round
By Round 3, you will have both corner spaces and side spaces.
In every corner space, work:
3 double crochet, chain 2, 3 double crochet
In every side chain space, work:
3 double crochet
Use a chain 1 between each group.
Continue around the square and join the round with a slip stitch.
From this point, the pattern becomes easier to remember: corners always receive two groups of double crochet separated by chains, while each side space receives one group.
How to Make Your Granny Square Bigger
Continue adding rounds using the same basic structure.
Every new round creates another chain space along each side, which means each side receives one additional group of three double crochet stitches.
You can stop after a few rounds for a small square or continue until the square reaches the size needed for your project.
Count the corners as you work. You should always have four.
How to Change Colors
Color changes are one of the easiest ways to make granny squares look completely different.
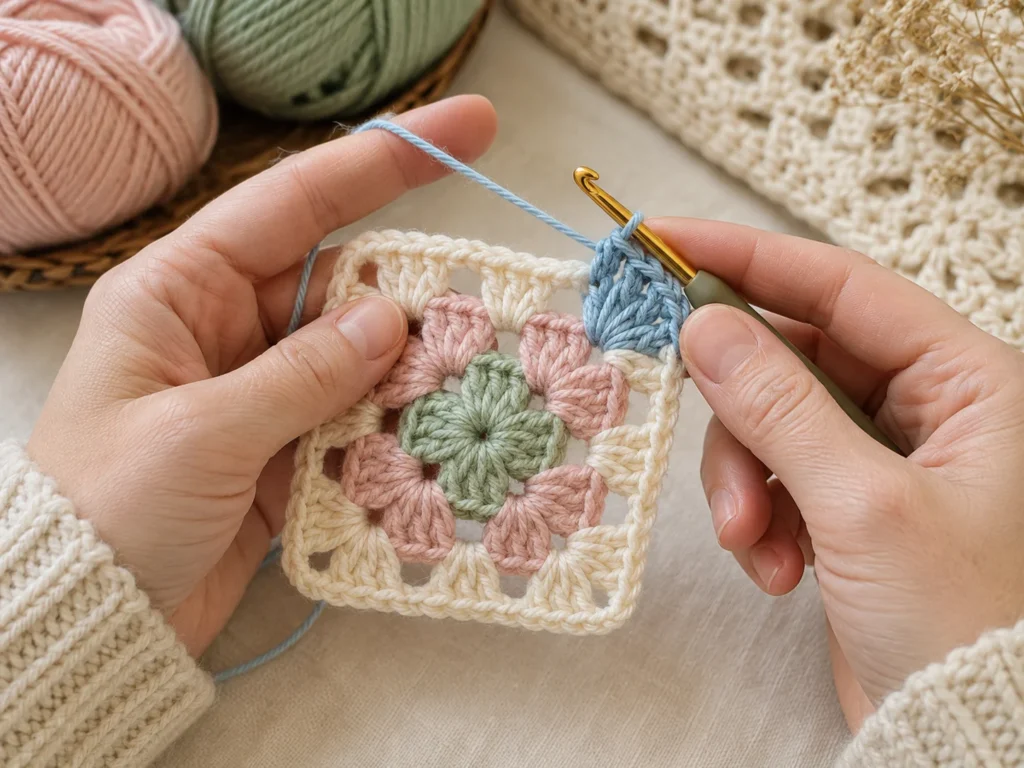
Finish your current round and fasten off the yarn. Join the new color in a corner space and begin the next round from there.
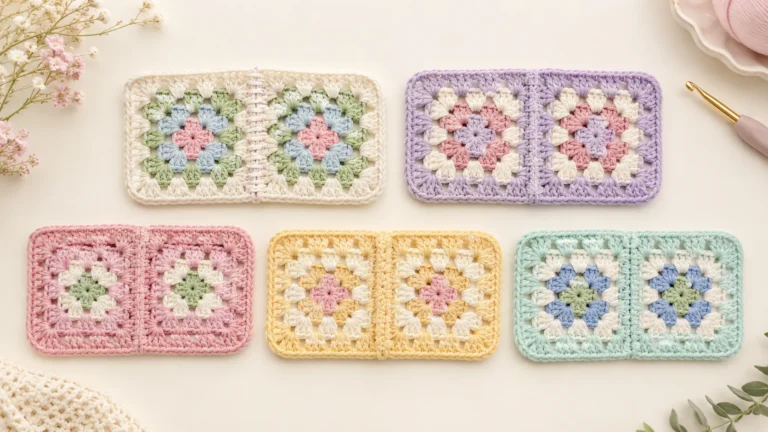
You can change colors after every round, alternate between two shades, or repeat a small color palette across several squares.
For a cleaner finished project, weave in the yarn ends as you go instead of leaving every loose end until the very end.
Why Is My Granny Square Wobbly or Uneven?
A first granny square does not always sit perfectly flat.
Check your stitch groups first. Every corner should follow the same pattern, and every side space should contain the correct number of clusters.
Tension can also affect the shape. If your stitches are very tight, the square may curl inward. If they are very loose, the edges may look uneven.
A finished square can also be blocked to improve its shape. Always check the care instructions for your yarn before choosing a blocking method.
Lia’s Tip: When I was learning granny squares, checking all four corners after every round helped me catch missed chain spaces before the square started looking uneven.
How to Join Granny Squares
Once you have several finished squares, arrange them on a flat surface before joining them.
For a detailed comparison of five joining techniques, see our How to Join Granny Squares guide.
Move the squares around until you are happy with the color placement and overall pattern.
You can join granny squares by sewing them with a yarn needle or by crocheting the edges together. Sewing usually creates a flatter join, while crochet joins can become part of the design.
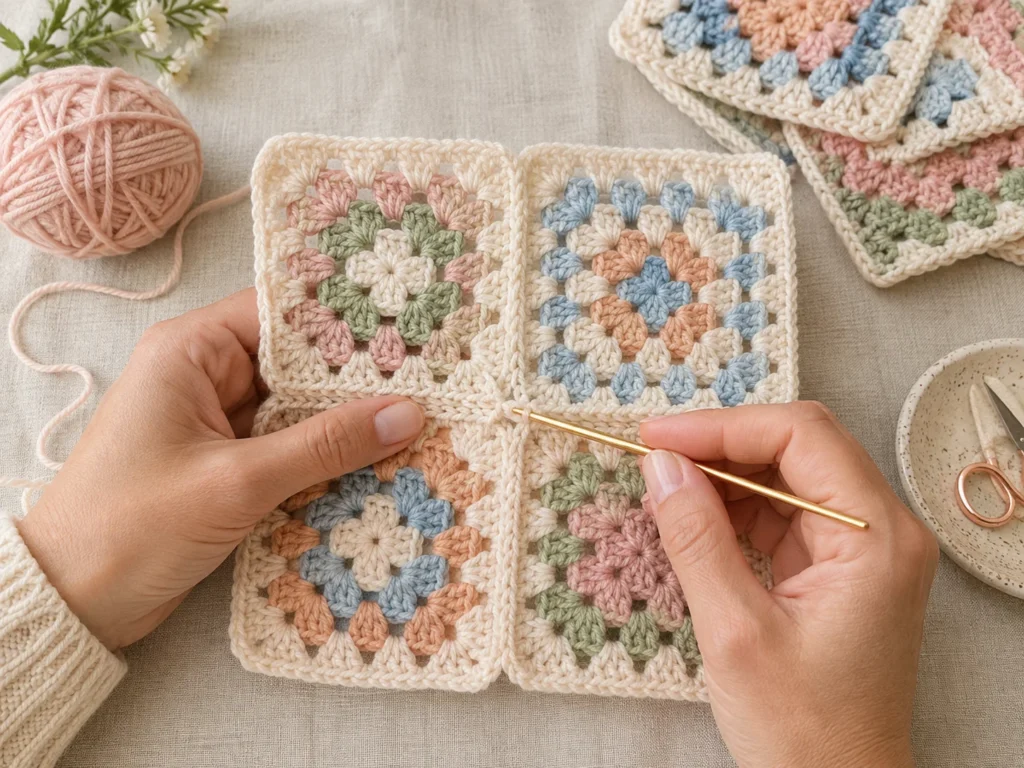
Whichever method you choose, line up the edges carefully and make sure corresponding stitches and corners meet evenly.
Turn Granny Squares Into a Simple Bag
A basic granny square bag is a good first project after you learn the square.
The simplest version uses two larger granny squares.
Place the squares with the sides you want visible facing outward, then join along the bottom and both side edges. Leave the top open and add a crochet strap or handle.
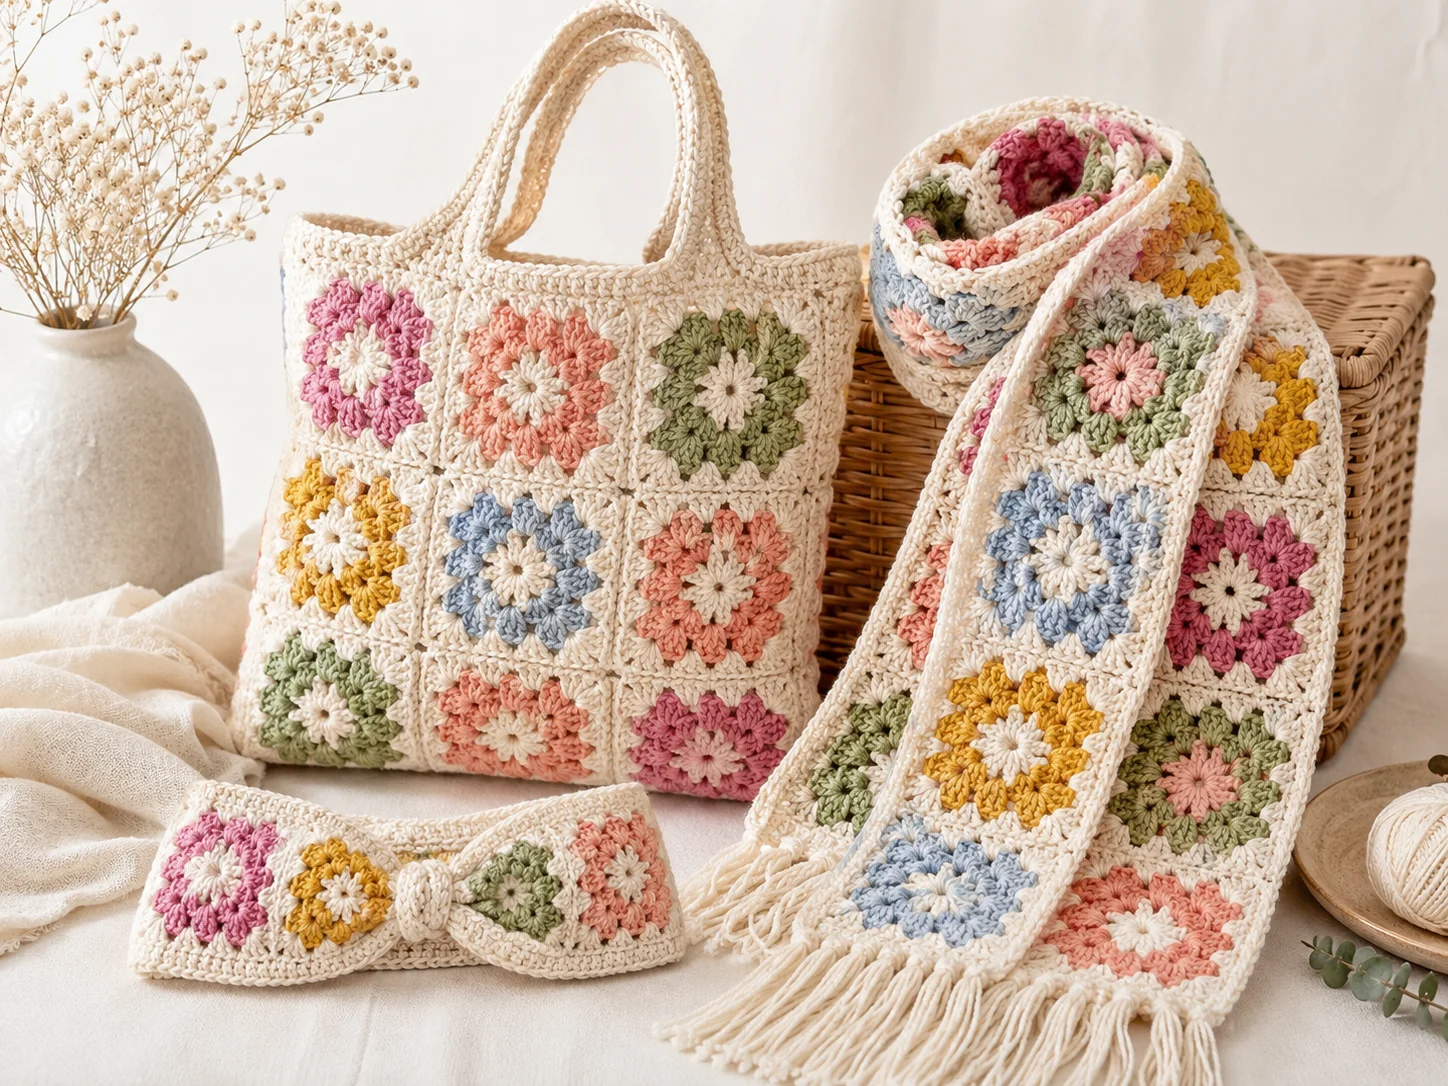
For a larger tote, make several smaller squares and join them into two panels before assembling the bag.
You can later add a lining, button, zipper, tassels, or other details, but keep your first project simple.
Easy Projects to Make With Granny Squares
Granny squares for beginners are perfect for small projects because you can practise the same pattern without committing to a large blanket.
- A coaster
- A phone pouch
- A small shoulder bag
- A market tote
- A cushion cover
- A scarf
- A headband
- A table mat
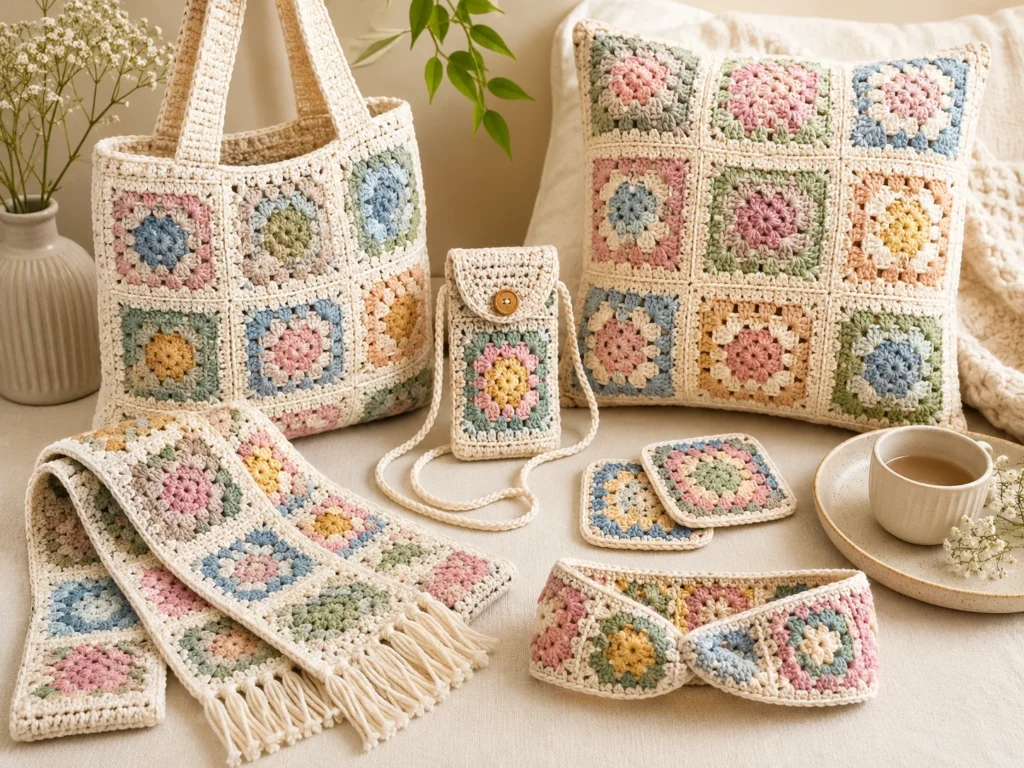
Start with something that only requires a few squares. Finishing a small project gives you a chance to practise joining and weaving in ends before committing to a large blanket or cardigan.
Common Granny Square Problems
Why Does My Granny Square Look Like a Circle?
Check your four corners. Each corner needs the extra stitches and chain space that allow the fabric to turn and form a square.
Why Is My Granny Square Curling?
Your tension may be too tight, or you may not have enough chain space in the corners. Check your stitch count and corner pattern before continuing.
Why Is the Center Hole Too Large?
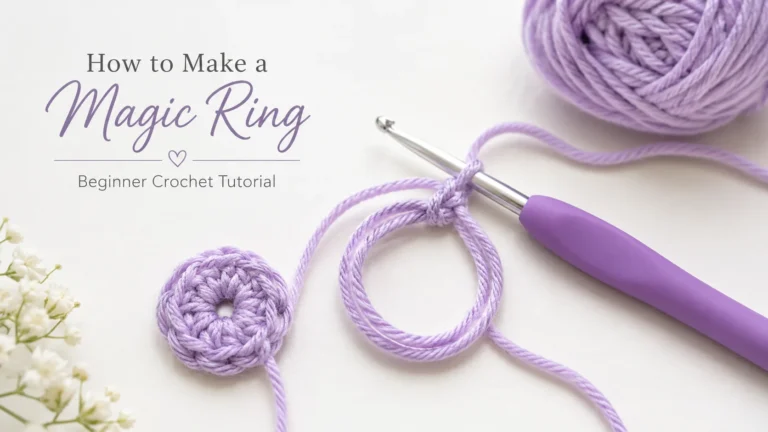
The chain-ring method naturally leaves a small opening. If you prefer a tighter center, you can use a magic ring once you feel comfortable making one.
Why Are My Sides Uneven?
Count the stitch groups on each side and make sure you have worked into every chain space. Missing one group can make one side shorter than the others.
Why Are My Corners Different Sizes?
Check that every corner contains the same combination of two double-crochet groups with the same number of chains between them.
Frequently Asked Questions
Are Granny Squares Easy for Beginners?
Yes. Once you know how to make chain stitches, double crochet, and slip stitches, a classic granny square uses a repetitive pattern that becomes easier after the first few rounds.
What Crochet Stitch Is Used in a Classic Granny Square?
Traditional granny squares commonly use groups of three double crochet stitches separated by chain spaces.
What Yarn Is Best for a Beginner Granny Square?
Smooth, medium-weight yarn in a light color is a practical starting choice because the stitches and spaces are easy to see.
How Many Rounds Should a Granny Square Have?
There is no fixed number. Stop when your square reaches the size required for your project. Small motifs may only need a few rounds, while larger squares can continue for many more.
Do I Have to Change Colors?
No. A granny square can be made entirely in one color. Using one color is often easier for your first square because you can focus on the stitch pattern before learning color changes.
Final Thoughts
Granny squares for beginners become much easier once you understand one simple idea: every round is built around four corners.
Start with the center, create four corner spaces, and then repeat the same groups of stitches as the square grows. Once your first square makes sense, the next one will usually feel much easier.
Practise with one color, keep an eye on your four corners, and do not worry if the first square is slightly uneven. After a few rounds, you will have the basic skill you need to make bags, scarves, cushions, blankets, and many other granny-square projects.